Well, I'm committed now. I spent Saturday night out at the hangar cutting and grinding the offending wing fitting off. I started with a Dremel and an abrasive cut off wheel, but it proved to not be stout enough for the job. Mainly, I think the Dremel just didn't have the torque I really needed. A newer one might be better in that regard.
In any case, I moved to my angle grinder with cutoff and grinding wheels. The welds were (reassuringly) pretty stout, so it took some work. I never got that moment of satisfaction of pulling/peeling the fitting away, instead having to basically grind the whole thing down to the welds. But I did it, and now I have to fix it. There is still some cleanup to do before installing a new fitting, but it was past midnight and I had been grinding for over an hour. My hands were killing me. I might remove the upper portion of the strap still in place since it's attached to a non-critical piece of structure. The lower portion is welded to a critical member and will also be out of sight in the long run.
I was worried the angle grinder would be like trying to cut wing ribs with a chainsaw, but I was able to keep precise control for the most part. The fuselage gave me a good stable platform to rest against. I put a few shallow gouges in the neighboring tubing, but they're small and not worrying. If I change my mind, I might weld a 0.035" or thinner patch over the gouges and call it done. The patches would be hidden once the airplane is covered.

Original fitting.
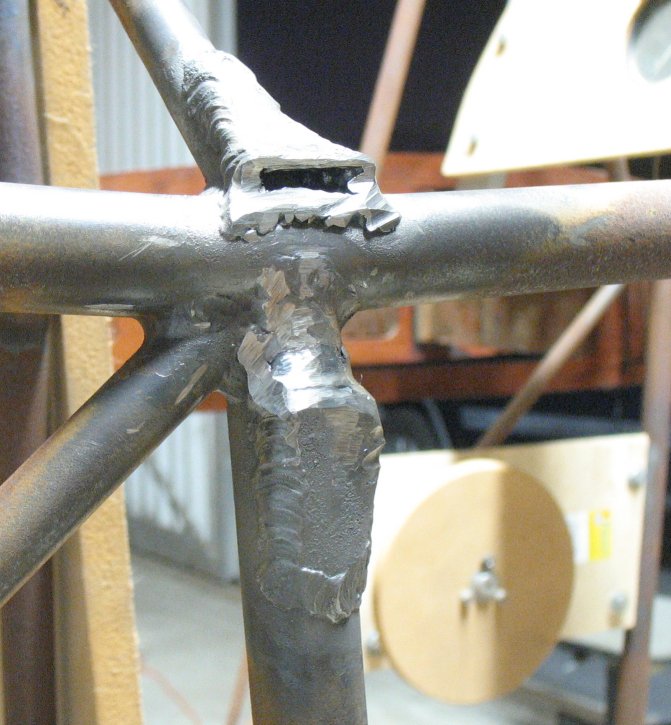
And butchered.
-Tony


 Reply With Quote

