-
How I build a rib:
Nose block, and preformed upper and lower capstrips are placed in the jig. Both capstrips are left long at the trailing edge, the lower sits atop the upper for now. Intercostals are added, forcing the capstrips into final shape. The upper capstrip is marked where it abuts the lower. It's then removed from the jig, trimmed with a razor saw and sanded to final fit. Then all the joints are hit with a sanding bar to bring the pieces down to the same thicknesses, there is some slight variation between them. A vacuum with a brush attachment pulls up all the sanding dust before gluing begins.
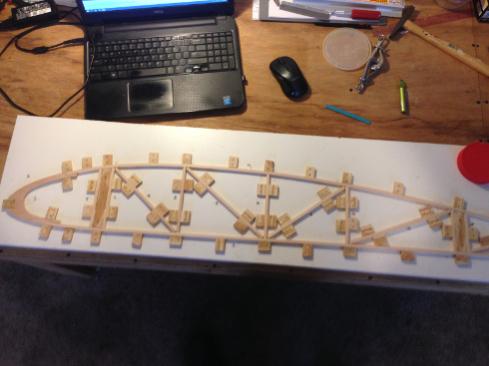
Here are all the parts in the jig post sanding.
Cardstock spacers are used either side of the spar blocks to allow easier installation of the finished rib on the spars.
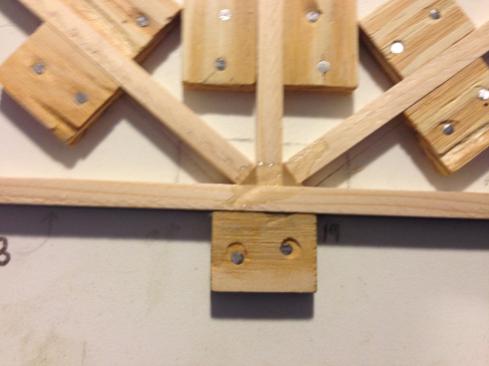
Next, the nose gusset is laid in place with an aircraft nail partly driven into the upper and lower capstrips to act as a locator pin and to remind me which side gets epoxy. (I've already finished smearing epoxy on two nose gussets only to realize I did wrong side)
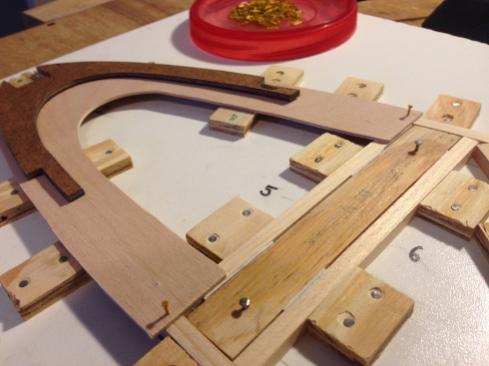
I then trace out my nose block template onto the gusset to help me see where to nail.
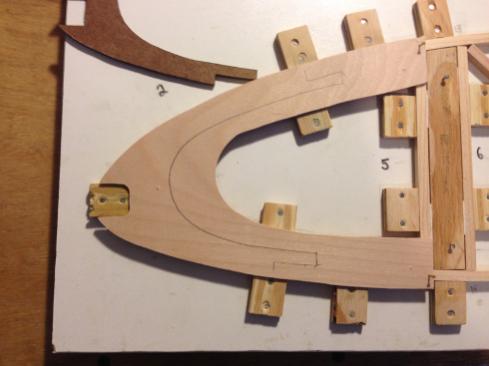
I then lay out all the remaining gussets around the rib in the appropriate pattern for the rib I am making. Some ribs have large gussets at the trailing edge, and the ribs that will get compression struts don't have two of the upper gussets. Laying them out now gives me a chance to catch a mistake before everything is covered in glue.

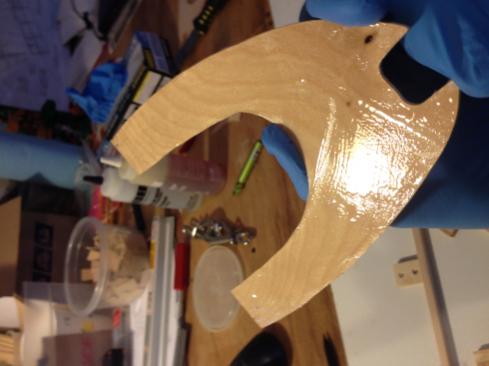
Back side of the nose gusset smeared with epoxy. I started off using acid brushes to spread the epoxy, but felt like more glue was being used to fill the bristles than was actually getting on the parts, so now I just spread it around with the popsicle stick I mixed the epoxy with.
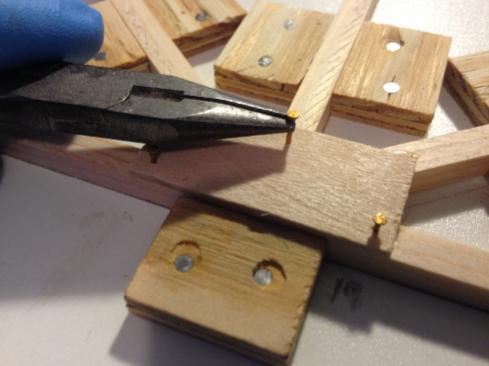
Here I've switched from the nose gusset to one of the smaller gussets because it's easier to fit in frame. The steps are the same for all of them.
I smear a little epoxy down into the joint I'm working. Then set the gusset, epoxy-slathered side down, on top of it.
I drive a few nails to hold it while I glue and set the rest of the gussets. These suckers are tiny, so they need to be held with tiny pliers or a hemostat when starting them.
Then I come back in and finish nailing the gussets down, as per the nailing pattern from the plans.
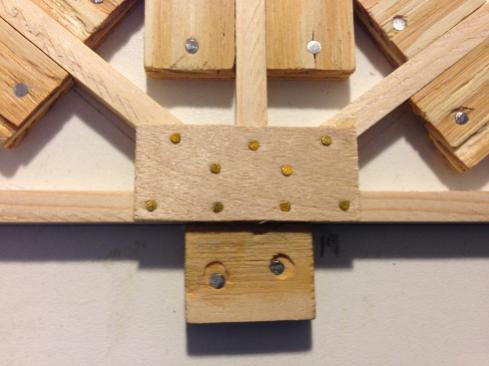
The nose gusset and trailing edge gusset get nails all the way around their perimeters, again, as per the plans.

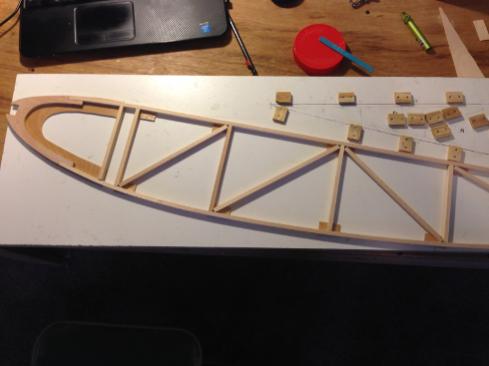
The rib is then removed from the jig so the process can be repeated on the other side.
 Posting Permissions
- You may not post new threads
- You may not post replies
- You may not post attachments
- You may not edit your posts
-
Forum Rules


 Reply With Quote